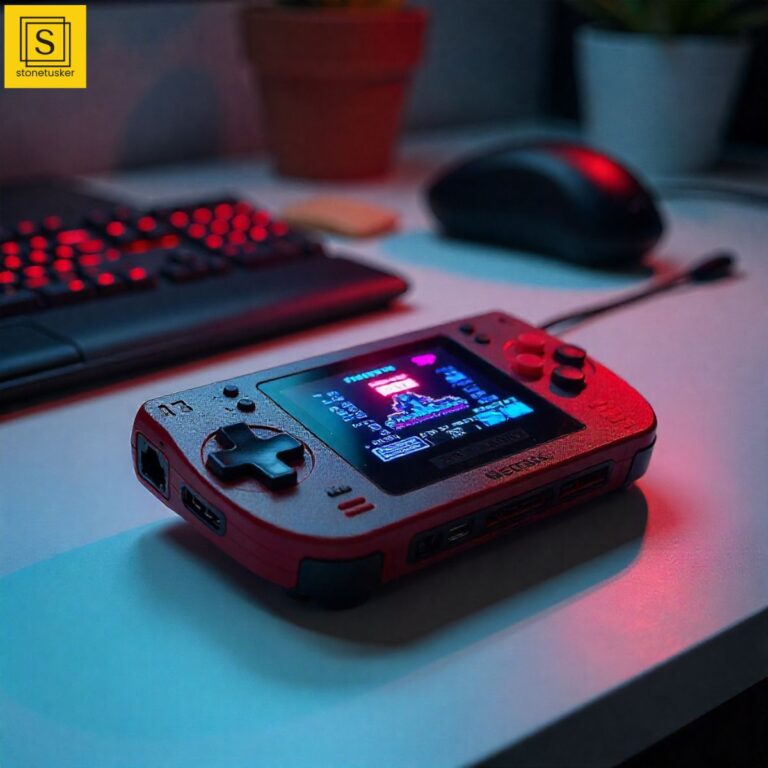
Bringing Your Gaming Device Vision to Life
Gaming industry is growing. The world of embedded gaming devices is expanding fast, fueled by nostalgic retro consoles and new-age portable machines all packed into compact hardware. Imagine designing your own handheld gaming system, perfectly tuned for your favorite games with just the right hardware and software. Sounds exciting, right?
But it is not just slapping together parts and calling it a day. Crafting a game-ready embedded device takes smart choices about hardware components, making sure your device runs smoothly on tuned operating systems, precise driver configurations, and a thoughtful design that fits the gaming experience you want to deliver.
In this article, you’ll get hands-on guidance to choose the right SoC and development board, customize hardware and device form factor, build and tailor your Yocto Linux image, add custom drivers like a new speaker, and flash your device with confidence. We’ll also talk about real-world challenges developers face and how to overcome them.
Choosing the Right SoC and Board: The Foundation of Your Gaming Device
Picking the right SoC is like picking the heart and brain of your gaming device. It dictates how well your games run and what features can be supported.
Key Factors to Consider When Selecting SoCs and Boards:
- Performance: For casual and retro gaming, the ARM Cortex-A55 based Rockchip RK3566 or RK3568 provide solid power. Need modern 3D? Snapdragon G-series or AMD Ryzen Embedded can handle heavier loads, but at higher cost.
- Graphics: Mali-G52 GPUs found on Rockchip SoCs offer good 3D acceleration which enhances gaming visuals and responsiveness.
- Memory and Storage: Minimum recommended RAM is 4GB to avoid slowdowns when running graphics-rich games or multitasking. Fast storage options like eMMC or NVMe SSD improve game load times and overall responsiveness.
- Multimedia and AI Capabilities: Hardware acceleration for video codecs and AI processors (like NPUs) help with video playback, overlays, and intelligent features in games.
- Connectivity and I/O: HDMI or MIPI DSI for displays, USB or PCIe for peripherals, WiFi & Bluetooth for wireless gaming or updates, and Ethernet for stable online gaming sessions.
- Power and Thermals: Especially for handhelds, efficient power consumption and good heat dissipation prevent throttling and extend gameplay.
- Software Support: Opt for SoCs with mature Yocto BSP support and active community backing-for faster development and easier troubleshooting.
Balancing Cost and Bill of Materials (BoM)
Your SoC choice heavily impacts your device’s price. But don’t overlook other components: RAM, storage, display, controls, power systems, and casing also add to the bill. Volume manufacturing usually brings costs down, so factor that into your budgeting.
Boards to Start With
Here are some popular boards to prototype your device:
- MYIR MYD-LR3568: Rugged industrial-grade board with extended temperature tolerance and multiple enterprise interfaces (dual Gigabit Ethernet, CAN bus). Ideal for commercial projects.
- Radxa ROCK 3A: Well-rounded, balanced price-performance board perfect for advanced embedded or home projects.
- Radxa ROCK 3C: Affordable and compact - great for prototyping and hobbyist use.
Starting your development with these will help you validate your hardware and software choices before building your own custom board.
Designing and Customizing Your Hardware
Once you pick a board or design your own, think about these customizations to maximize your gaming device’s potential:
- Memory and Storage: Opt for higher RAM (4GB or more) and faster storage (NVMe SSD if possible) for smooth gaming and fast load times.
- Display: Choose display size and resolution that your GPU can handle comfortably.
- Controls: Design or source buttons, joysticks, and touchpads that feel comfortable and responsive. Ensure your board can support enough GPIO or USB devices.
- Power and Cooling: Design reliable power supply and cooling to prevent performance drops from overheating and extend battery life.
- Form Factor: Keep your design ergonomic and portable. Place ports and buttons thoughtfully to enhance user experience.
Getting Started with Yocto Linux
Yocto Project is a powerful tool that lets you build a Linux OS tailored exactly to your gaming device hardware and software needs. Here is example to build images for the Radxa ROCK 3A development board. These Steps will also work for Radxa ROCK 3C with a minor patch.
Prepare Your Build Environment
Use Ubuntu 20.04 or 22.04 LTS for best compatibility. Install required packages:
sudo apt-get update
sudo apt-get install -y gawk wget git-core build-essential chrpath cpio python3 python3-pip libsdl1.2-dev xterm diffstat texinfo gcc-multilib unzip socat python3-pexpect xz-utils debianutils iputils-ping liblz4-tool
Disable AppArmor unprivileged user namespace restriction (important for bitbake)
echo "kernel.apparmor_restrict_unprivileged_userns=0" | sudo tee /etc/sysctl.d/60-apparmor-namespace.conf
sudo reboot
Clone Yocto Layers and Board Support
git clone -b scarthgap git://git.yoctoproject.org/poky.git

cd poky

git clone -b scarthgap git://git.yoctoproject.org/meta-rockchip.git
git clone -b scarthgap git://git.openembedded.org/meta-openembedded
git clone -b scarthgap git://git.yoctoproject.org/meta-arm

# Following contains the dts patches for other Radxa boards
git clone -b linux-5.10-gen-rkr4.1 git@github.com:radxa/kernel.git
Initialize and Configure Build
source oe-init-build-env
# Edit conf/bblayers.conf to add meta-rockchip and others
# Set MACHINE in conf/local.conf  , you can directly run the following as well
echo 'MACHINE = "rock-3a"' >> conf/local.conf
echo 'BB_NUMBER_THREADS = "4"' >> conf/local.conf
echo 'PARALLEL_MAKE = "-j 4"' >> conf/local.conf


#update: conf/bblayers.conf , change path accordingly

BBLAYERS ?= " \
  ${TOPDIR}/poky/meta \
  ${TOPDIR}/poky/meta-poky \
  ${TOPDIR}/poky/meta-yocto-bsp \
  ${TOPDIR}/poky/meta-openembedded/meta-oe \
  ${TOPDIR}/poky/meta-arm/meta-arm \
  ${TOPDIR}/poky/meta-arm/meta-arm-toolchain \
  ${TOPDIR}/poky/meta-rockchip \
"
Build Your Linux Image
For a barebones command line system:
bitbake core-image-minimal
For a graphical gaming-friendly environment:
bitbake core-image-weston
Adding Custom Drivers: Your Speaker, Your Way
What if your device has a speaker not supported in Yocto’s default drivers? No problem.
Here’s how to add a custom driver:
- Put your custom driver code
custom_speaker.cin your own layer folder:meta-custom/recipes-kernel/linux/files/sound/. - Create a recipe append file
linux-rockchip_%.bbappendwith:
FILESEXTRAPATHS_prepend := "${THISDIR}/files:"

do_patch_append() {
    cp ${WORKDIR}/sound/custom_speaker.c ${KERNEL_SRC}/sound/soc/codecs/
}

do_compile_append() {
    echo "obj-$(CONFIG_CUSTOM_SPEAKER) += custom_speaker.o" >> ${KERNEL_SRC}/sound/soc/codecs/Makefile
}
- Enable the driver in kernel config:
bitbake -c menuconfig linux-rockchip
Find and enable CONFIG_CUSTOM_SPEAKER, then save and exit.
- Add your custom layer path in
bblayers.conf. - Rebuild your Linux image including the driver:
bitbake core-image-weston
- After flashing and booting, verify your driver is loaded:
lsmod | grep custom_speaker
Flashing Your Device and Getting It Started
Find your compiled image:
tmp/deploy/images/rock3a/

Flash it to your microSD or onboard storage (replace /dev/sdX with your target device):
sudo dd if=core-image-minimal-rock-3a.rootfs.wic of=/dev/sdX bs=4M status=progress conv=fsync
Insert & boot your board - your customized Linux gaming device is ready!
Troubleshooting and Debugging Tips
- Use a serial console connection for boot logs and kernel messages;
- Inspect logs with
dmesgandjournalctlto spot driver or hardware issues; - Ensure device tree matches your hardware exactly;
- Clean builds with
bitbake -c cleanallif builds fail; - Validate physical wiring and connections;
- Join forums for community help - meta-rockchip and Radxa boards have active communities.
Performance and Power Optimization
- Match parallel build jobs to your CPU cores for faster Yocto builds;
- Tune CPU/GPU governors for gaming performance;
- Minimize background services to free up resources;
- Use profiling tools to monitor game resource demands;
- Design power profiles to balance gaming power and battery life.
Security and Software Stack Tips
- Use secure boot and encrypted filesystems for production devices;
- Include popular gaming libraries like RetroArch, SDL2, or Vulkan;
- Regularly update your Linux kernel and BSP layers for security fixes;
- Plan for OTA (over-the-air) updates to keep devices current.
Testing and Maintenance
Before shipping, test your device thoroughly: inputs, network, graphics, audio, and power consumption. Automate builds and deployment testing to catch issues early, and set up monitoring for devices in the field.
Real-World Examples
Many successful embedded gaming devices follow similar workflows:
- Anbernic RG350 - a popular retro handheld built around RK3326 with open-minded Linux OS, showing how open hardware and software can create vibrant gaming experiences. More at anbernic.com
- Odroid Go Advance - a DIY-friendly handheld using RK3326, built with Linux and supporting Yocto builds, enabling hobbyists to develop unique gaming experiences. Details at hardkernel.com
- RetroFlag GPi Case - a Raspberry Pi case turning a Pi into a portable gaming console often running Yocto-customized images. Learn more at retroflag.com
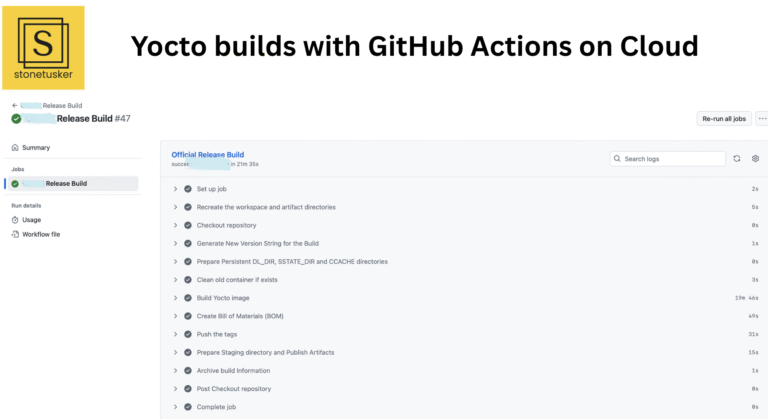
Real-World Examples on How to do Embedded DevOps
Refer one of another Case studies wher we have helped a major Audio devices company to integrate Yocto builds with GitHub using Cloud infrastructure DevOps Transformation for Embedded Systems - A Case Study

